Shade-Loving Perennials for North-Facing Gardens: A Beginner's Comparison
October 30, 2026 - Plant Care

There is a particular satisfaction in ending a weekend with soil under your nails and a flower bed that did not exist on Friday evening. No turf piled in a corner, no stripped lawn, no aching back on Monday. A no-dig bed is exactly what it sounds like: you smother the grass, feed the surface, and let worms, fungi and soil life do the work you would otherwise do with a spade. Two days is enough to go from lawn to planted border, provided you gather everything first and resist the urge to improvise halfway through.
The thing that most often derails a no-dig weekend is running out of cardboard with half a bed still bare. Start collecting a fortnight ahead: flattened delivery boxes, the large sheets that come with flat-pack furniture, bike boxes from a local shop. Aim for enough to cover your bed area twice, with leftovers for the compost heap.
Skip glossy printed card, waxed produce boxes and anything that clearly held oil or chemicals. Dry cardboard is brittle and blows about, so store it flat and weighted down, and have the hose ready: wet card tears along the line you want, dry card fights back.
Pick a spot with at least half a day of sun and, ideally, within easy reach of a tap. Mark the outline with string and pegs, or lay a hose on the ground and adjust it until the shape looks right. Then go and look at it from the kitchen window. Generous curves look wonderful on paper and become fiddly to mow later, so leave a clean straight strip where the bed meets lawn and let the bold shape be on the far side.
Mow the grass as short as the mower will go and rake off the clippings. You do not need to remove turf — that is the whole point — but do tackle anything woody: brambles, ivy roots, old shrub stumps, thick docks and dandelion crowns. Deep-rooted perennials such as bindweed and ground elder will find a way through a single layer of card, so dig out what you reasonably can and accept that you will be pulling regrowth for a season or two.
This is the part that decides whether the bed works. Lay the cardboard like roof tiles, with each sheet overlapping the next by about 15cm, and extend the layer a little beyond your intended edge so the grass underneath has no light at the margins. No gaps, no skimping at the corners.
Use two layers over rough or weedy ground — the extra thickness costs nothing and buys you time. Remove every scrap of packing tape, because it will still be there in five years, poking out of the soil like a plastic worm. Once the sheets are down, soak them until they are dark, soft and lying flat, then peg or weight the edges so the wind cannot get underneath overnight.
Spread 10–15cm of well-rotted compost over the whole area. This is your planting medium for the first season; the cardboard beneath is a barrier, not a meal. If your compost is coarse or full of twiggy bits, that is fine for perennials but too rough for sowing seed — keep a finer bag aside for that. Avoid burying the lot under a thick layer of bark chippings if you plan to plant immediately, as it makes setting rootballs neatly far more awkward.
Water each pot before you start, then tease out the roots a little. Set the plant so the top of its rootball sits in the compost, firm it in with your knuckles, and water again to settle the soil around it. Roots will push down through softening cardboard within a few weeks, so there is no need to cut holes through to the soil below.
Plant in groups of three or five rather than dotting singles about, and read the spacing on the label properly — bare compost looks enormous in April and disappears entirely by July. Put the tallest plants towards the back or the centre, and leave room to reach in for watering and deadheading. Good first-season choices are hardy perennials, herbs and sturdy annuals that suit your light and soil; there is no point fighting your conditions in week one.
If you want to sow seed, scatter it into a shallow layer of fine compost raked over the top, or raise it in modules and plant out later — the second route is far more reliable in a brand-new bed.
Expect slugs. Damp cardboard is a five-star hotel for them, so plant out slightly larger specimens, water in the morning rather than the evening, and check the bed after dark for the first fortnight.
Until that card breaks down, your plants are drawing from a shallow slice of compost, so watering is the make-or-break job. In dry spells, water deeply twice a week rather than giving a daily sprinkle — push a finger in afterwards to check it has gone down rather than run off.
Keep off the bed as much as possible. The layers are soft at first, and a well-worn path across the middle will compact them into a hard pan you will spend years repairing. If the compost sinks as it settles, top it up rather than filling in with soil from elsewhere. Label anything you are likely to forget, and take a photograph from the same spot each month: it is the easiest way to see how much the bed has filled out.
In the first season, the bed will look like a rectangle of dark compost with young plants in it. That is normal, and it is temporary. By autumn the cardboard will be largely gone, pulled down and digested by worms, and the soil beneath will be darker, crumblier and full of roots. Next spring, spread another 5cm of compost on top and plant straight into it.
After that, the routine barely changes: an annual mulch, a good soak in dry weather, and a fork kept firmly in the shed. Two days of laying card and barrowing compost buys a bed that gets easier every year — and a lawn you never had to strip.
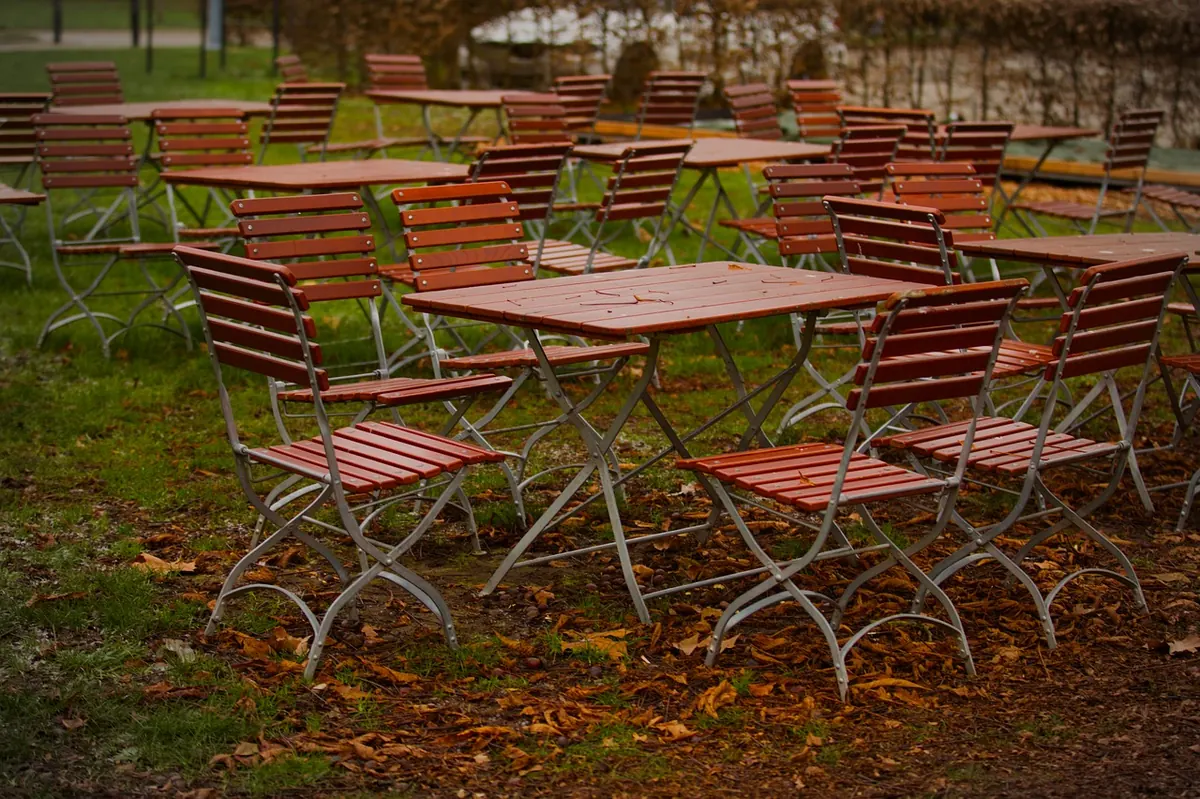
Photo: Tho-Ge / Pixabay

North-facing gardens are cool and often damp, but the right perennials turn that shade into layered foliage, winter...
A quiet, layered garden with a shallow dish of water, hedges left alone in spring and one scruffy corner can turn a...
Copyright © 2026 Racconti Del Giardino. All Right Reserved.