Shade-Loving Perennials for North-Facing Gardens: A Beginner's Comparison
October 30, 2026 - Plant Care
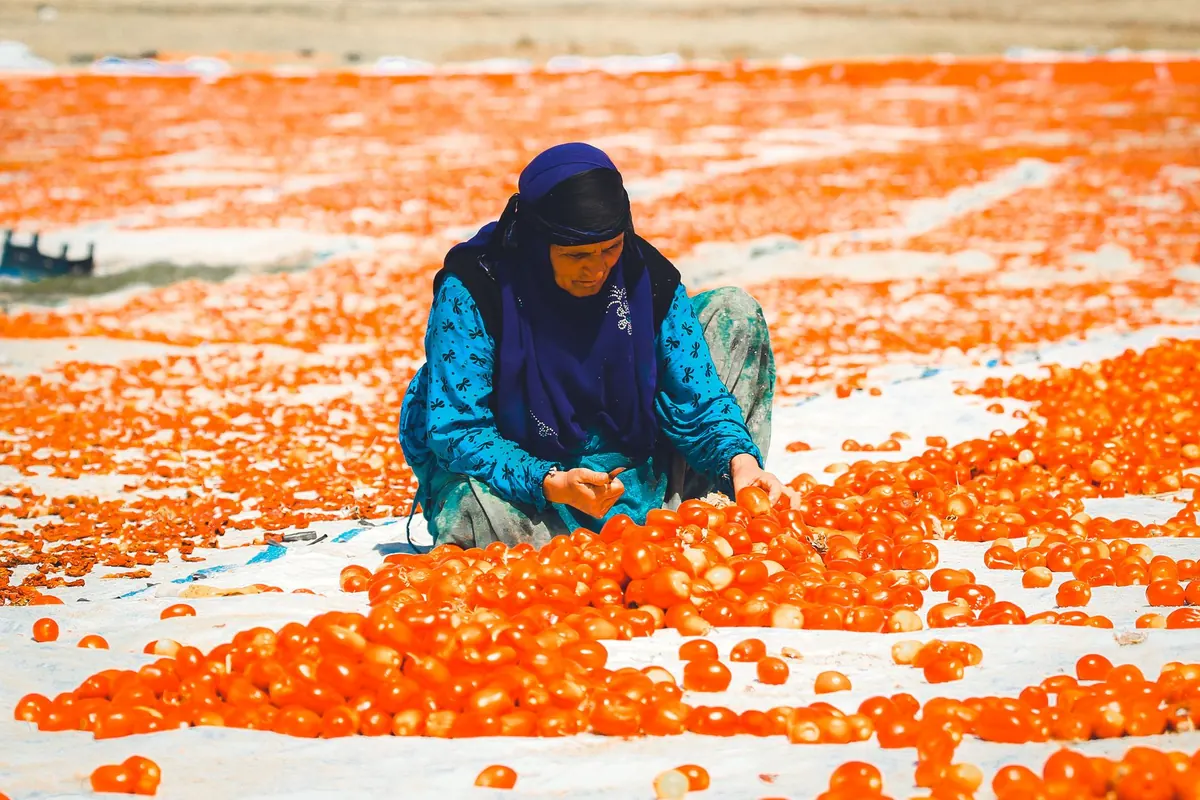
Saving tomato seeds feels like a small act of optimism: a few slippery seeds in a jar in late summer, then a row of seedlings on a windowsill next spring. The method is old, simple, and forgiving, but the details matter. Choose the right plant, let the fruit ripen fully, ferment the seeds to clean away the gel, dry them properly, and store them away from heat and moisture. Do that, and you can keep a favorite variety going for years.
The process is also a small lesson in selection. Every time you save seed, you are choosing which plants and which traits move forward into next season. That is why seed saving is about more than scooping seeds onto a paper towel. It is a chance to notice which tomatoes tasted best, which plants stood up to disease, and which vines kept producing when the weather turned difficult. A little attention at harvest time can make next year’s garden stronger.
Before you begin, it helps to know what kind of tomato you are saving from. Seed saving works best with open-pollinated and heirloom varieties, because their offspring usually resemble the parent plant. Hybrid varieties are different: if you save seed from a hybrid, the next generation may be variable, surprising, or disappointing. That does not mean you should never try it. It simply means you should label the results as an experiment rather than expect an exact copy of the tomato you loved.
Start by watching your tomato patch through the season. The best seeds come from the healthiest, most productive plants, not from the biggest fruit on the weakest vine. Look for strong growth, good flavor, reliable fruit set, and the kind of resilience that matters in your garden. Avoid saving seed from a plant that has struggled with disease, especially if the foliage is badly spotted or the fruit is rotting on the vine. You want to carry forward vigor, not problems.
Pick a fully ripe fruit from a plant that has earned its place. If you grow several plants of the same variety, take fruit from more than one healthy plant to preserve a little genetic diversity. For a single favorite plant, one or two fruits are enough. The largest tomato is not automatically the best seed source; a medium fruit from a strong, tasty plant is a better bet.
Pay attention to the whole plant, not just the fruit. A vine that produced well early but collapsed by midsummer is not the best candidate. A plant that kept setting fruit through heat, stayed healthy longer, and gave you tomatoes with the flavor you want is a better choice. If you are saving seed to preserve a family favorite or a variety that has done well for years, choose from the plants that show those same qualities most clearly.
Open-pollinated varieties are stable enough that saved seed usually grows into plants similar to the parent. Heirlooms are open-pollinated varieties with a history, often passed down through families or communities. Hybrid tomatoes, often labeled F1, are the first generation of a deliberate cross. They can be excellent garden plants, but their seeds will not reliably reproduce the same tomato.
Tomatoes are mostly self-pollinating, which makes home seed saving easier than it is for crops like squash or corn. Still, cross-pollination can happen, especially when several varieties grow close together and bees are active. If you are saving seed from more than one open-pollinated variety and want to keep each one pure, separate them by a good distance, grow them in different seasons, or bag a few blossoms before they open. For most home gardeners, a little crossing is not a disaster, but it is worth knowing that it can happen.
Wait until the fruit is ripe enough to eat and slightly soft. The seeds inside are mature when the fruit is mature. A hard, green tomato may contain seeds, but they are less likely to be fully developed. Choose a clean, undamaged fruit and keep it labeled from the start. If you are saving several varieties, write the name on the jar or container before you cut into the fruit. Once the seeds are loose and sticky, it is easy to lose track of which variety is which.
Cut the tomato in half crosswise. Scoop or squeeze the seeds and surrounding gel into a small glass jar or plastic container. Some pulp will come along with the seeds, and that is fine. Add a small amount of water, enough to cover the seeds and pulp but not fill the jar to the brim. Loosely cover the container so fruit flies stay out but air can still get in. A piece of cloth secured with a rubber band works well.
Tomato seeds are surrounded by a gel sac that inhibits germination and can carry pathogens. Fermenting the seeds mimics the natural rotting of a fallen fruit. It breaks down the gel, makes the seeds easier to clean, and can help improve germination. Put the jar in a warm spot out of direct sun, around 70 to 80 degrees Fahrenheit. Stir the mixture once a day.
After two to five days, you will likely see bubbles, a sour smell, and a layer of white mold on the surface. This is normal. The good seeds will tend to sink, while pulp and hollow seeds float. In cooler weather, fermentation may take longer; in hot weather, check it daily after the second day. Do not let the jar sit indefinitely. Once the pulp has broken down and the seeds feel clean when you rub them gently, it is time to rinse.
Fermentation is traditional and useful, but it is not strictly required. For a small batch, you can scoop the seeds into a fine mesh strainer, rinse them well under running water, and rub gently to remove as much gel as possible. Spread them out to dry right away. The no-fermentation method is faster, but it may leave more gel behind and may not clean the seeds as thoroughly. If the fruit came from a plant with disease pressure, fermentation is usually the better choice.
Add water to the jar, stir gently, and let it settle. Pour off the floating pulp and any seeds that rise to the top; these are often hollow or immature. Viable seeds usually sink. Repeat the rinsing process a few times until the water runs clearer and the seeds are free of most pulp. A fine mesh strainer is helpful here. Rub the seeds gently with your fingers to remove any remaining gel, but do not scrub hard enough to crack the seed coats.
Spread the clean seeds in a single layer on a paper plate, coffee filter, or labeled piece of paper. Avoid clumping them together, because seeds that stay wet in a pile can mold. Remove bits of pulp and any damaged seeds as you go. Label the drying container immediately with the variety name, the date, and any notes about the plant.
Dry the seeds in a well-ventilated area out of direct sun and away from heat. Give them one to two weeks, depending on humidity. Stir them gently once a day so air reaches all sides. Properly dry tomato seeds should snap when bent rather than bend like leather. If they still flex, they need more time. Do not speed the process in an oven or on a hot radiator, because high heat can damage the seeds.
Humidity is the enemy here. In a damp climate, a small fan moving air around the room can help, but keep the seeds from blowing away. Once the seeds are crisp and dry, they are ready to store. If you are unsure, leave them a few extra days in a dry, airy room rather than seal them too soon.
Put fully dry seeds in a paper envelope or a small glass jar. If you use a jar, make sure the seeds are absolutely dry before sealing it. In humid places, a small packet of silica gel can help keep moisture down. Label each container with the variety, the year, and notes about flavor, productivity, or disease resistance. Store the seeds in a cool, dark, dry place. A refrigerator can work well if the container is sealed and the seeds are dry, but avoid moving them between damp and cold conditions repeatedly.
Most properly stored tomato seeds remain viable for three to five years, and sometimes longer. Before planting, you can test a few seeds by folding them into a damp paper towel, keeping it warm, and checking for germination after a week or so. That simple test saves you from wondering whether an old packet is worth planting.
Seed saving rarely fails completely, but a few problems are common. If the fermentation jar develops a heavy, foul smell or colorful fuzzy mold, start over with fresh fruit if you can. If the seeds begin to sprout in the jar, rinse and dry them immediately; they may still be usable, but they are harder to store. If dried seeds stick together, they were probably not dry enough before storage. If germination is poor the next year, the cause may be immature fruit, incomplete drying, or exposure to heat.
Label the jar before you get sticky. A few seconds with a marker can save a whole season of guessing.
Saving tomato seeds is a small ritual with a long payoff. Each jar holds the memory of a good plant and the promise of another summer. Choose carefully, ferment and rinse thoroughly, dry completely, and store the seeds well. With a little practice, you will build your own supply of favorite varieties and become a more observant gardener along the way.
Photo: Cengiz Kudat / Pexels
North-facing gardens are cool and often damp, but the right perennials turn that shade into layered foliage, winter...
A quiet, layered garden with a shallow dish of water, hedges left alone in spring and one scruffy corner can turn a...
Copyright © 2026 Racconti Del Giardino. All Right Reserved.